
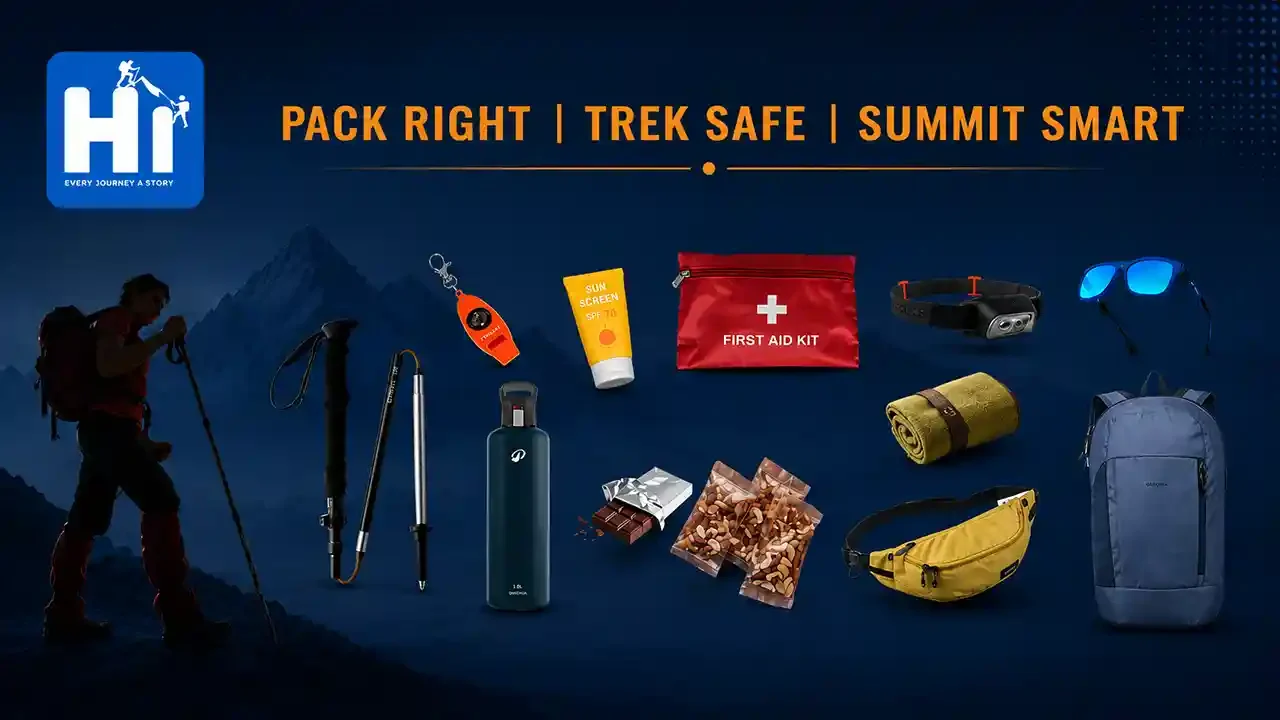

You have booked your trek. Your excitement is at its peak. But then comes the real question, what exactly do you pack?
Getting your gear right is not about carrying the most expensive equipment. It is about carrying the right things. After years of leading treks from beginner friendly trails to high altitude Treks. We have put this together, no-nonsense hiking or trekking essentials checklist, so you never have to second guess your pack again.
Essentials Items to Carry
Trekking Poles
Most beginners underestimate trekking poles. On steep descents, your knees take almost 25% less impact with poles. On loose rocky terrain, they are your third and fourth point of contact. Adjustable aluminium poles work well for most treks. Carbon fibre poles are lighter but more expensive.
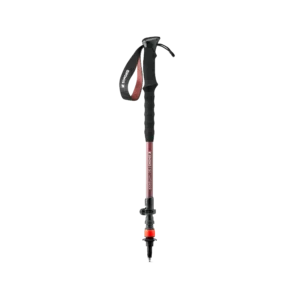
I have seen too many trekkers show up with poles that bend or snap on the second trek itself. This one holds up. The anti-shock tips genuinely reduce the jolt on rocky descents, and the grip stays comfortable even after six-seven hours on the trail. If you are buying your first proper pair of poles, start here.
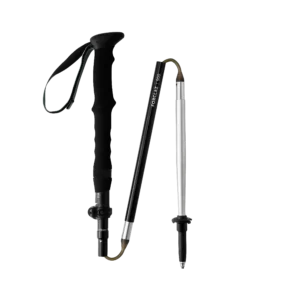
For regular trekkers who are tired of poles taking up half the backpack, this is the upgrade worth making. It folds down small enough to clip onto the side of any bag, and the extra ₹500 over the MT500 buys you a noticeably sturdier build. I recommend this to anyone doing more than two-three treks a year.
Water Bottles
Hydration is not optional on a trek, it decides how your entire day goes. What matters is not the fanciest bottle, but one that will not leak inside your bag or crack the first time it falls on a rock.

This is the bottle I would hand to a first-time trekker without a second thought. The handle makes it easy to clip outside your bag, and 0.75 litre is enough between refill points on most day treks. Nothing fancy, just reliable.
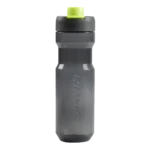
Slightly slimmer profile, and it slides into backpack side pockets that other bottles do not fit into. No aftertaste, which matters more than people expect after the third refill of the day. Good backup bottle to carry alongside your main one.
Towels
You will use your towel more often than you think, not just for drying off, but for wiping down gear, cleaning hands before meals, and quick clean-ups at camp. Skip the cotton towel from home; it stays wet and heavy for days.
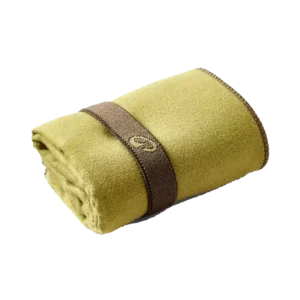
This is the one that actually lives in my side pocket, not buried inside the bag. At 39 × 55 cm it is too small for a full body dry, but for wiping sweat, hands, or a fogged-up camera lens, it does the job in seconds and dries before you have even packed it away.

On multi-day treks, this is the one I actually pack. Large enough for a proper wash-up after a stream crossing or a cold camp bath, and it still folds down to almost nothing. If your trek involves overnight stays, this size is worth the little extra room it takes.
Rain-coats (PONCHO)
Mountain weather does not ask permission before it changes. One clear afternoon can turn into a downpour within the hour, especially above 3000m. A poncho is the one item you hope you never need, but you will be glad it is there when you do.
Note: A rain poncho isn’t essential for every trek or every season. If you’re joining an organized trek, follow the recommendations of your trek leader or trekking company. If you’re planning a self-guided trek, always research the weather and trail conditions before packing. That said, if you’re heading into a cold or unpredictable mountain region, carrying a lightweight poncho is never a bad idea. Even if it doesn’t rain, it can provide emergency protection against wind and help reduce heat loss until you reach a safer place.
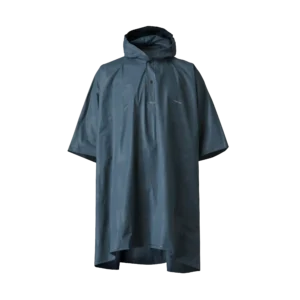
This is the bare minimum I would tell any trekker to carry, even on a trek where rain seems unlikely. It weighs almost nothing, covers you and a daypack up to 10L, and takes ten seconds to pull on when the sky turns.
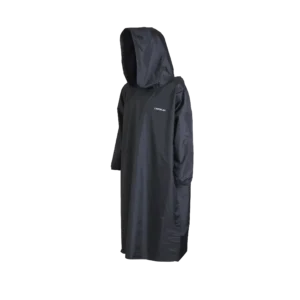
The extra ₹200 buys you longer coverage, enough to keep your backpack properly dry, not just your shoulders. On treks where I know we will be out for several hours regardless of weather, this is the one I pack instead of the shorter version.
Head Lamps
A good headlamp is one of the most important things in your bag, and one of the easiest to get wrong. Whether you are climbing the final stretch before sunrise, setting up camp after dark, or just need your hands free in the cold, this is not something to pick on price alone. Here is how to choose between a casual summer option and a serious winter one.
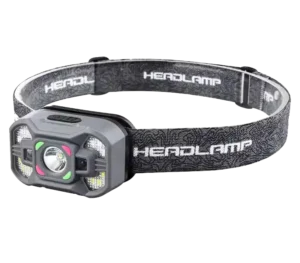
Budget rechargeable headlamps are everywhere, and most do the basic job fine. This one is a solid pick specifically for beginners and lower-altitude summer camping, think finding your water bottle at midnight, not navigating a ridge before sunrise. Charge it before every trip, and do not expect it to hold up in freezing conditions.
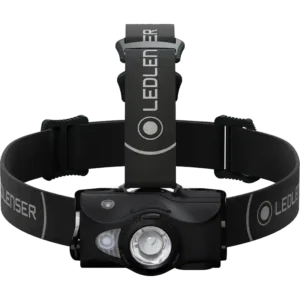
This is the pick for anything beyond a casual trek. 600 lumens is bright enough to actually see the trail on a moonless night, and the dual power system, rechargeable battery with an AA backup, means you are not stuck in the dark just because you forgot to charge something. Cheaper headlamps tend to fade fast in freezing temperatures; this one is built to hold up on sub-zero mornings. It is more than you need for a weekend camping trip, but for winter summits and night photography, it is hard to beat.
Power Banks
Your phone does not behave the same way on a trek as it does at home. Cold alone drains the battery faster than usual, and between GPS tracking, photos, and keeping it on in case of an emergency, a full charge rarely survives a full day once you are above 3000m. There is no wall socket waiting at the next campsite, so whatever charge is sitting in your power bank is what you have got until you are back in range of civilization.
A reliable power bank is not really about convenience, it is peace of mind for the one situation you hope never happens: needing to make a call with a phone already on 5%. Capacity matters, but what matters more is how the battery holds up in genuinely cold conditions, since plenty of power banks that work fine in a Delhi winter give up entirely at altitude.
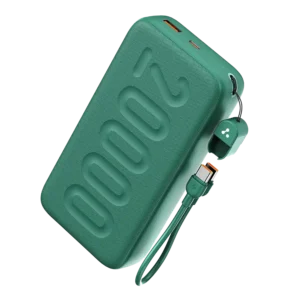
I have used Ambrane power banks for a long time now, across enough treks that I would trust it without a second thought. Never once had an issue, and in cold conditions down to -10 to -15°C, the battery has never drained on me. One smart habit though: on genuinely cold nights, tuck it inside your warm layers rather than leaving it in an outer pocket. Not because it needs it, but there is no reason to take even a small risk when the fix is this easy.
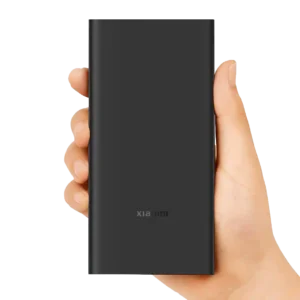
I have not personally carried this one through a Himalayan winter, but it comes up often enough in trekker recommendations that it is worth mentioning here. The real standout is the 33W fast charging, useful the night before a trek when you are packing late and need a full charge in under an hour instead of three. Several trekkers report it holding up fine in cold, high-altitude conditions, though if sub-zero reliability is your main concern, going with something tested by you or someone you trek with is always the safer call.
Waist Bag & EDC Pouch
There is a particular kind of frustration in stopping every ten minutes, swinging your backpack off your shoulders, and digging through three compartments just to find your phone or a spare battery for your GoPro. A waist bag solves exactly this problem. It sits right at your hip, keeps your most-used items within arm’s reach, and means your main backpack stays zipped and undisturbed for most of the trek. It is especially useful if you carry a phone or a small camera for quick shots along the trail, or if you are the kind of trekker who needs sunscreen, snacks, and cash accessible without breaking stride.
Not every trek needs the same carry though. Sometimes you want everything within reach, and sometimes you just want your cash and cards safe without the bulk. Here are two options depending on what you actually need.
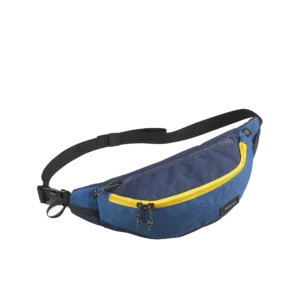
At 2 litres, there is enough room for your phone, some cash, and permit or ID copies you need handy at checkpoints, without digging through your main bag every time. It sits close to the body and stays out of the way whether you are walking or scrambling over loose rock, and by the end of the day you genuinely forget it is there until you actually need it. For day treks, or as your go-to grab bag around camp, this is the size that covers almost everything without adding real weight.
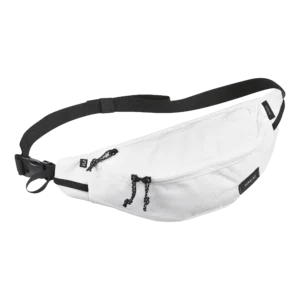
The extra litre over the 2L version does not sound like much, but it is enough to also fit a light buff, a power bank, or a spare pair of gloves alongside your phone and cash. Being water repellent matters more than people expect, a sudden shower, a stream crossing, or just setting the bag down on damp ground at a chai stop, and everything inside stays dry without you having to think about it. The design leans more everyday than expedition, so it doubles well as your regular bag once you are back in the city, not something you retire the moment the trek ends.
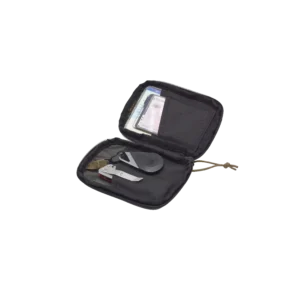
This one is built for a different job than the waist bag. There is a dedicated slot for a folding knife, useful for anything from cutting cord to prepping food at camp, plus room for permit copies or ID at forest checkpoints. It slides onto your existing belt rather than coming with its own strap, and stays locked in place instead of just clipping on. If you would rather not have the knife visible, it tucks in discreetly. Need it within a second’s reach instead? The same pocket carries it externally.
Compass & Whistle
A compass and whistle are absolute must-carry items if you are trekking solo without a guide, crucial for navigation and alerting rescuers. Even if you are trekking with a professional agency, it is always smart to carry your own. They weigh almost nothing but provide a massive safety backup just in case you ever get separated from your group.
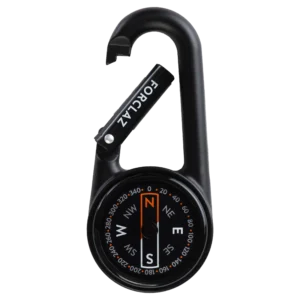
This does exactly one thing, and does it well – point north. No extra features to fumble with when your hands are cold or you are checking direction on the move. The oil-bath needle stays steady even while you are breathing hard on a climb, unlike basic dry compasses that jitter and take a few seconds to settle. The snap hook means it clips onto a backpack strap or zipper pull and stays there, so it costs you nothing in weight or attention until the one moment you actually need to confirm which way you are walking.
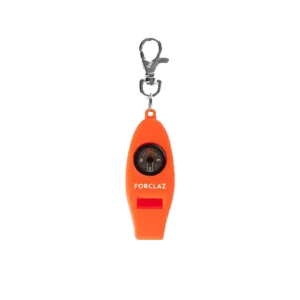
Four tools on one keyring, and only one of them actually matters if things go wrong: the whistle. Three sharp blasts is the universal distress signal, and unlike your phone, it works with zero battery and in weather that would fog up a screen anyway. The compass is a smart zero-power backup for the day your phone (and the power bank in your bag) both give up, useful more as a last resort than your main navigation tool. The thermometer and magnifying glass are the kind of extras you will not reach for often, but they add basically no weight, so there is no real downside to having them along. Clip it onto your backpack strap or belt loop and forget about it until the one day you actually need the whistle.
Dry Fruits & Energy Bars
Somewhere around the third or fourth hour on the trail, willpower alone stops being enough. You need actual fuel that will not weigh down your bag or spoil in the sun. A small pouch of almonds, walnuts, raisins, and a couple of dates covers most of that need. The nuts give slow, steady energy that carries you through a long climb, while dates work almost like a quick top-up when you hit a steep stretch and need something fast.
Energy bars are worth carrying alongside, not instead of, your dry fruits. They are individually wrapped, so there is no fumbling with a ziplock bag with cold fingers, and one bar gives a quick, measured hit of energy when you do not want to stop and portion anything out. Between the two you get steady fuel and a fast option, and unlike chocolate or biscuits, neither leaves you with a sugar crash twenty minutes later. Pack around 150-200 grams of dry fruits plus two to three bars for a full day, and keep them in an outer pocket where you can grab either without stopping.
Still not sure what to carry for your specific trek?
Every trail is different. Every trekker is different. Connect with us on WhatsApp and we will put together a personalised gear list based on your trek, the season and your experience level.
This page contains affiliate links. If you purchase through them, we may earn a small commission at no extra cost to you.